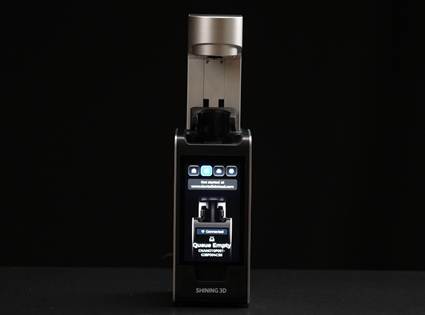
Step 1: Access the Activation Page
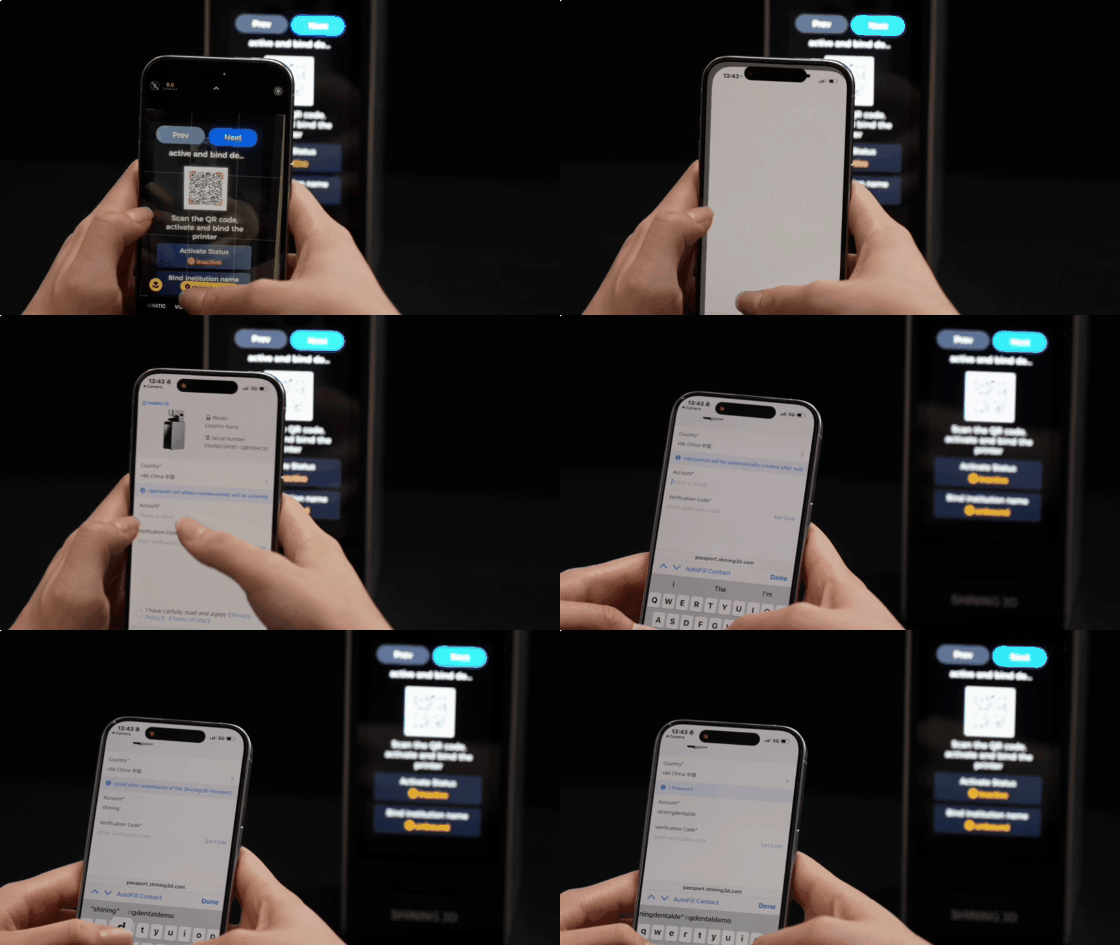
Scan the QR code to access the printer activation page.
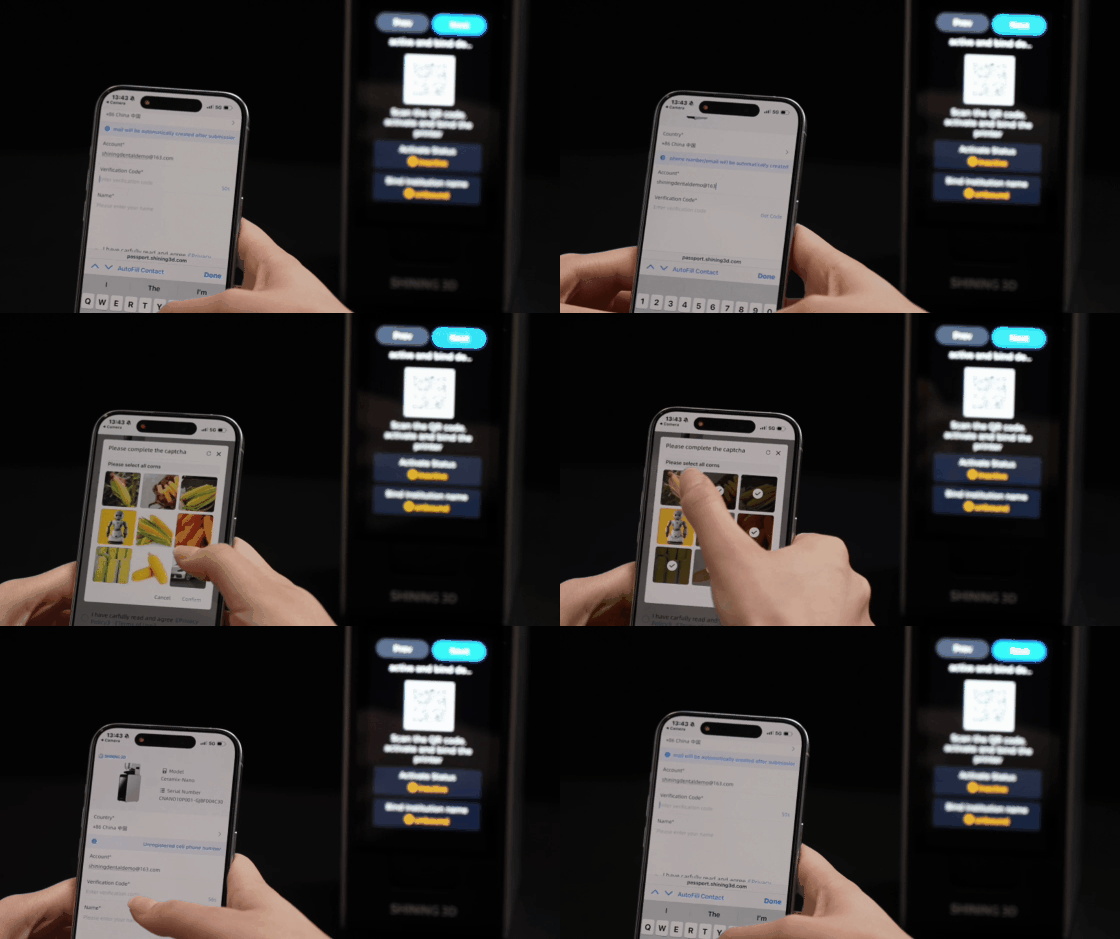
Step 2: Register Your Account
Enter your phone number or email address to receive a verification code.
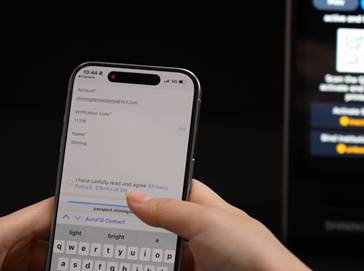
Enter the verification code and your name to complete account registration.
Note: If you already have a SHINING 3D Dental Cloud Platform account, simply log in and activate the printer.
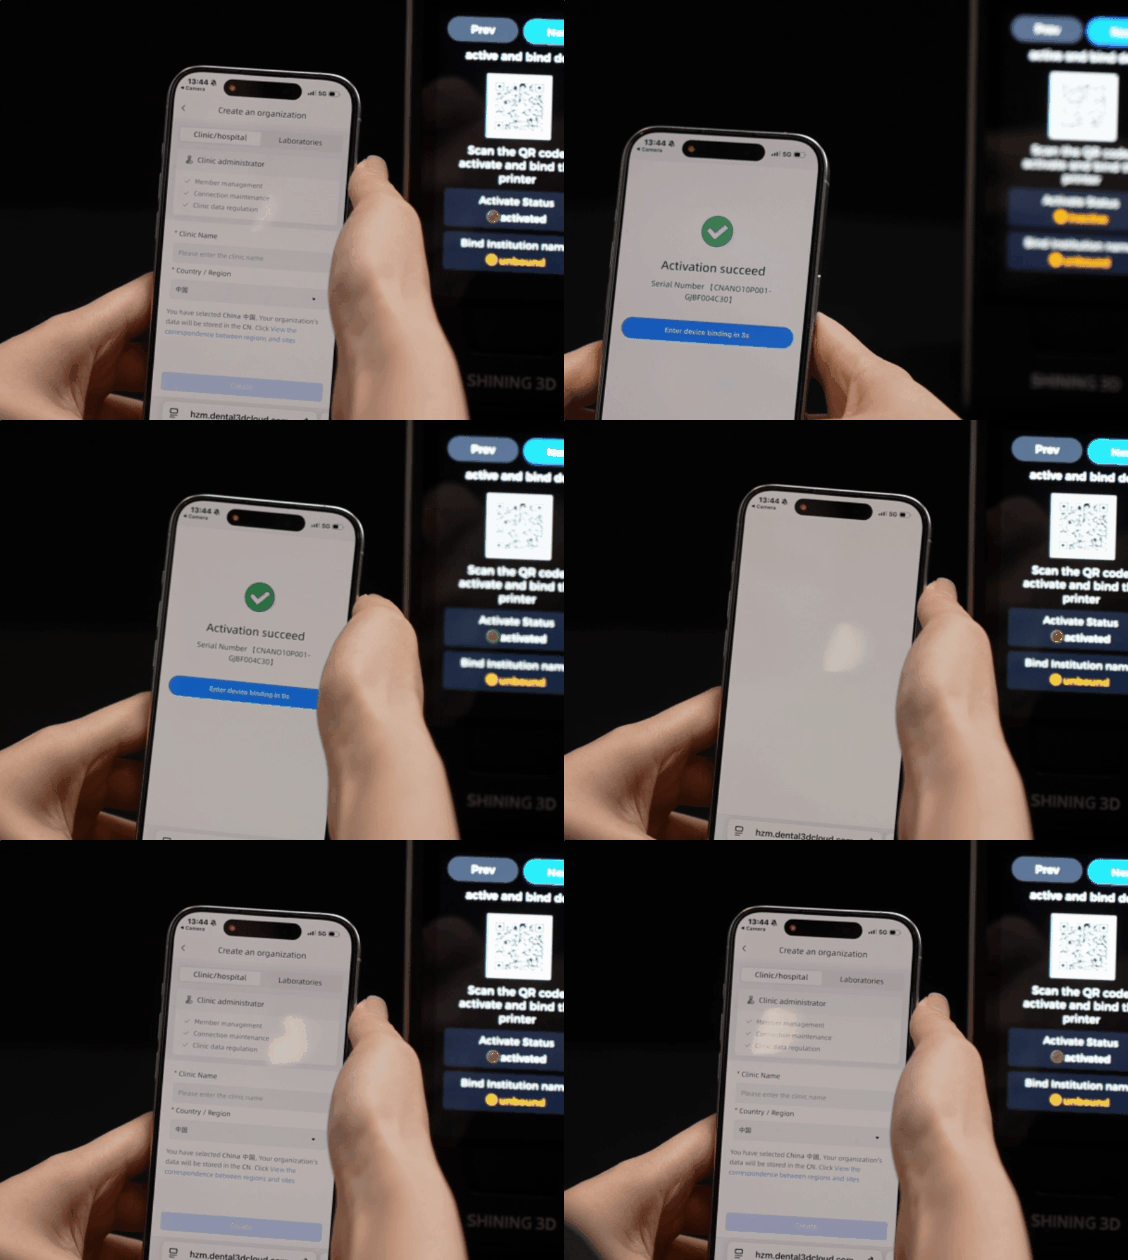
Step 3: Activate the Printer
Once registration is complete, the printer will be activated successfully and will automatically enter the binding page.
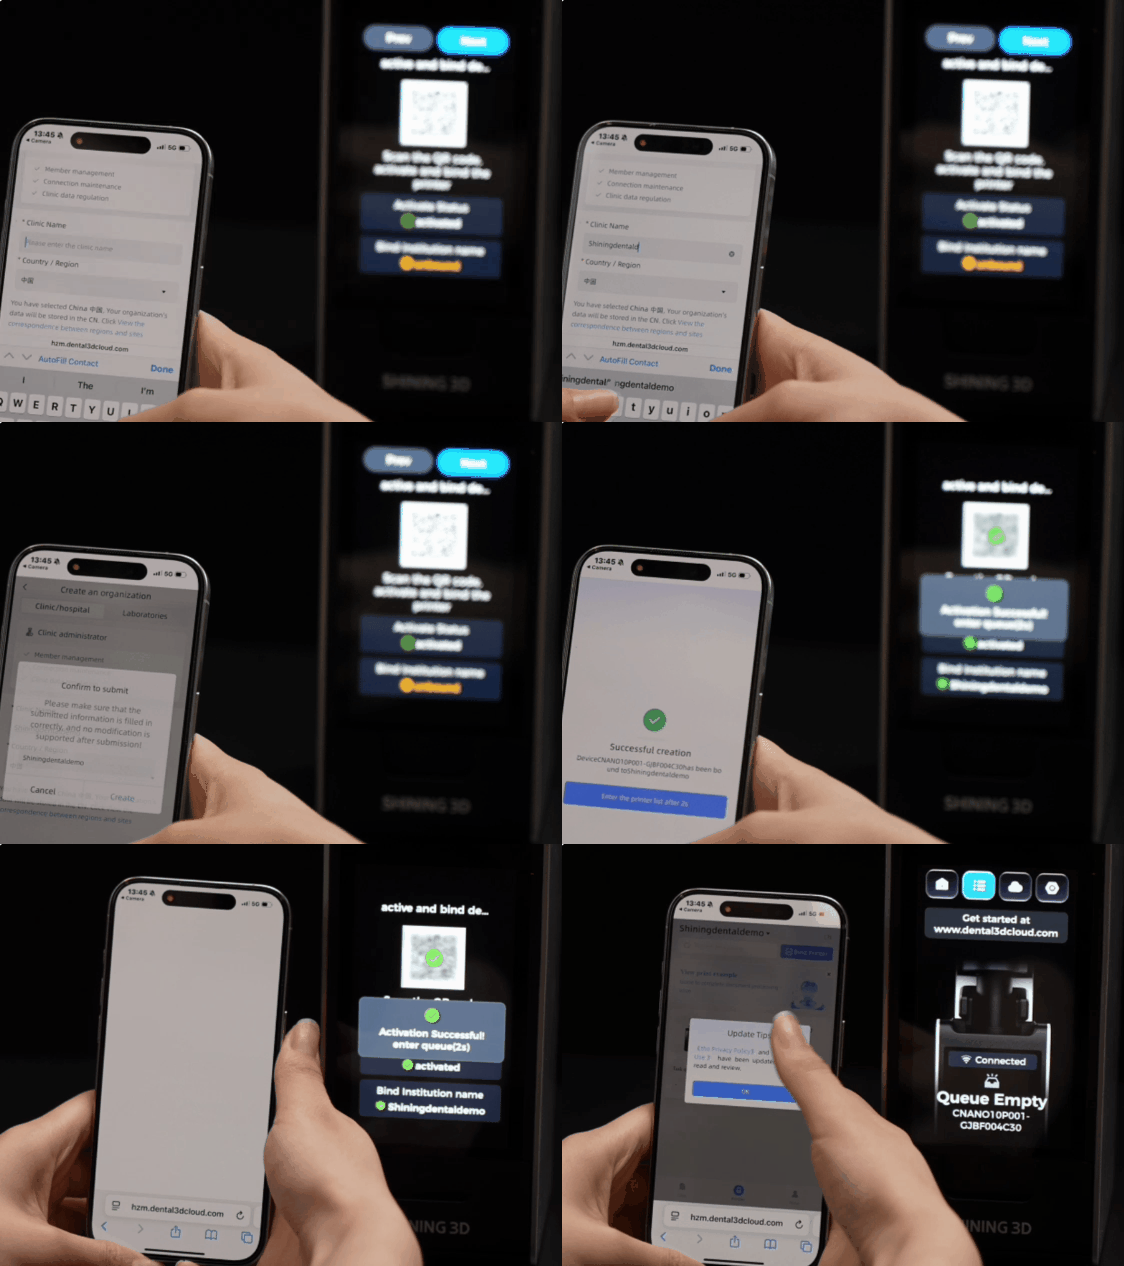
Step 4: Bind to Your Clinic or Lab
• Enter your clinic or lab name.
• Your SHINING 3D Dental Cloud Platform account will be created automatically.
• The printer will then be automatically bound to your clinic or lab.
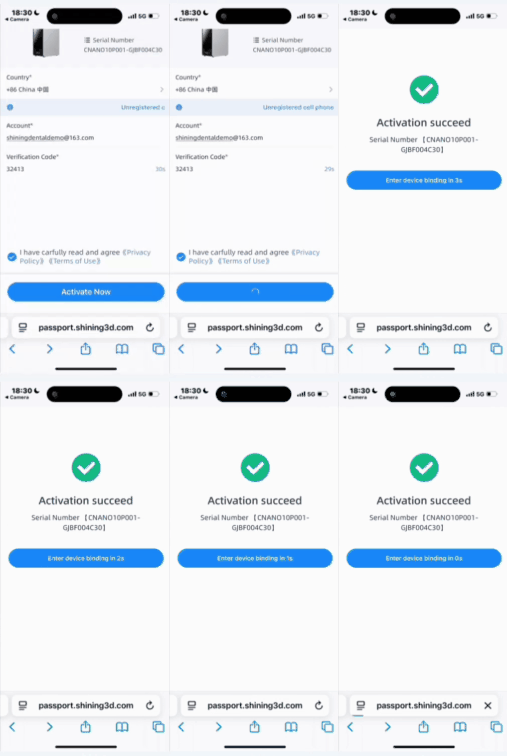
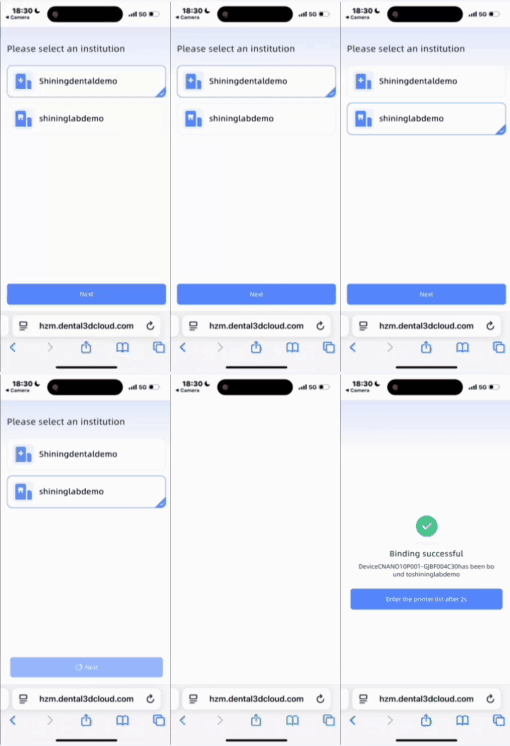
Note: If you already have an account, select the clinic or lab you want to bind from the drop-down list.
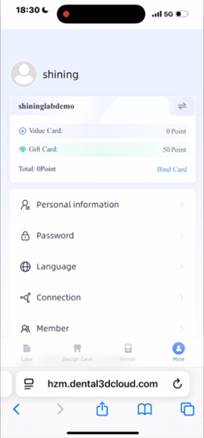
Step 5: Start Using the Cloud Platform
• After binding is complete, you can design restorations, slice files, and send print jobs through the SHINING 3D Dental Cloud Platform.
• Bonus: Newly activated and bound clinics or labs will receive SHINING 3D Credits, which can be used for SHINING3D AI Design services.