
Powering On Your Printer
Step 1. Set Up the Printer
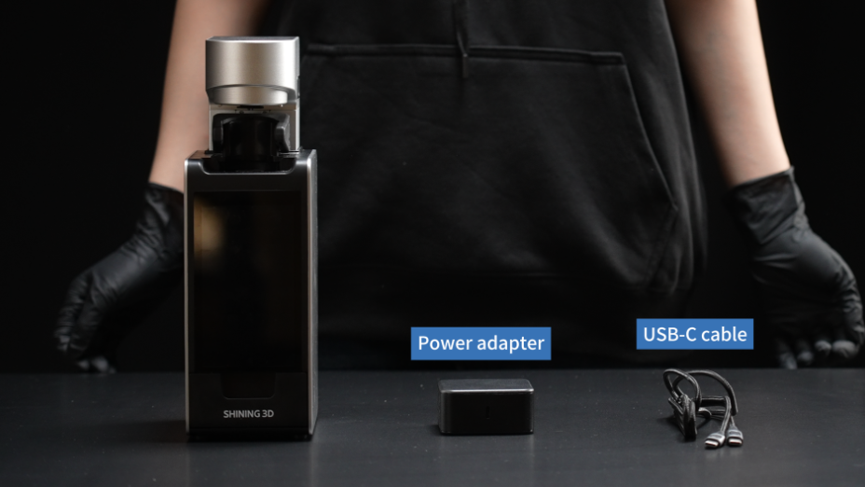
Unbox the printer and place it upright on a stable, level surface.

Take out the USB-C power adapter and power cable, then connect the cable to the adapter.
Step 2. Connect the Power Cable
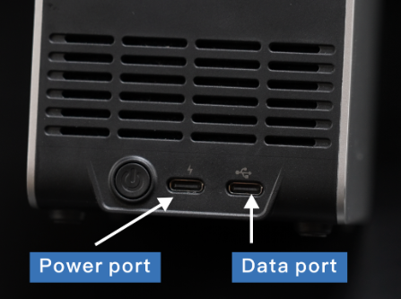
On the back panel of the printer, next to the power button, there are two USB-C ports.
• The left USB-C port (marked with the power icon) is the Power port.
• The right USB-C port is the Data port, which supports importing print files from a USB flash drive for offline printing.
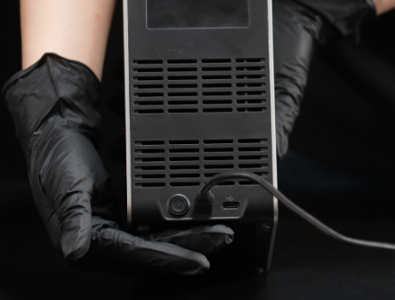
Connect the power cable to the Power port.
Note: The power cable must be connected to the Power port. The printer will not turn on if it is connected to the Data port.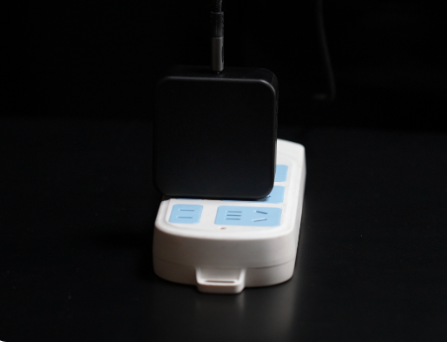
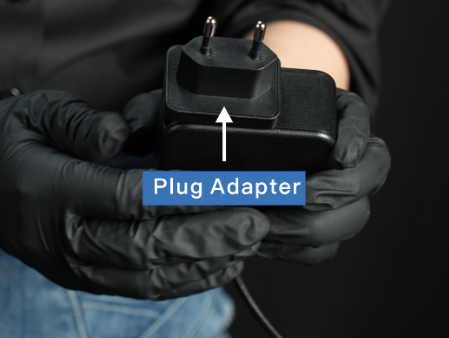
Step 3. Plug in the Power Adapter
Plug the power adapter into a wall outlet.
If a plug adapter is required:
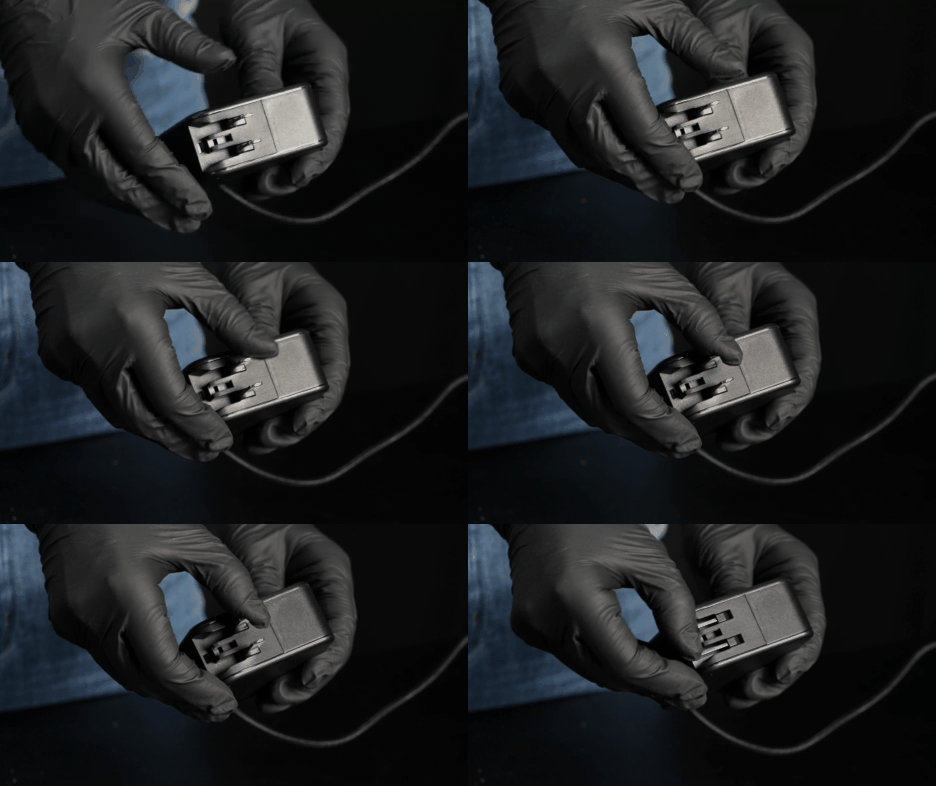
Fold the plug into the power adapter.
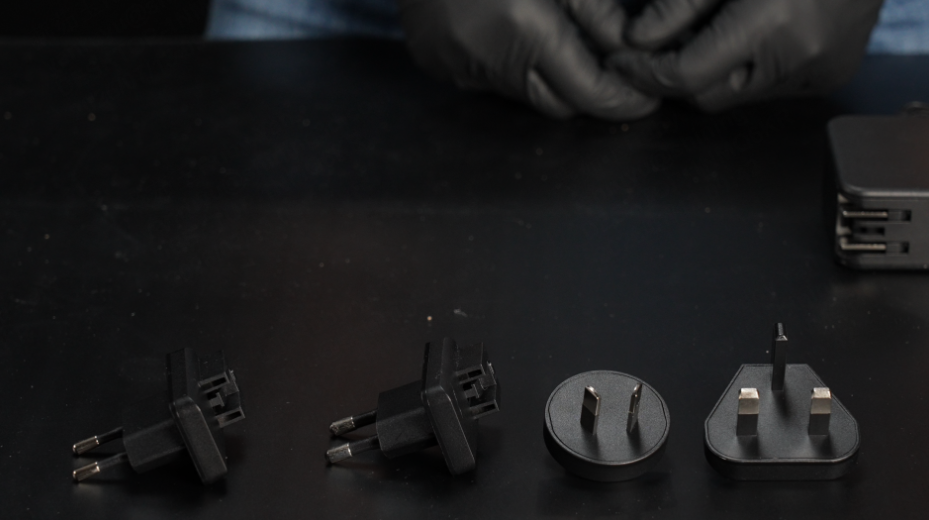
Select the appropriate plug adapter for your region.

Align the plug with the slot on the plug adapter.
Push until you hear a click.
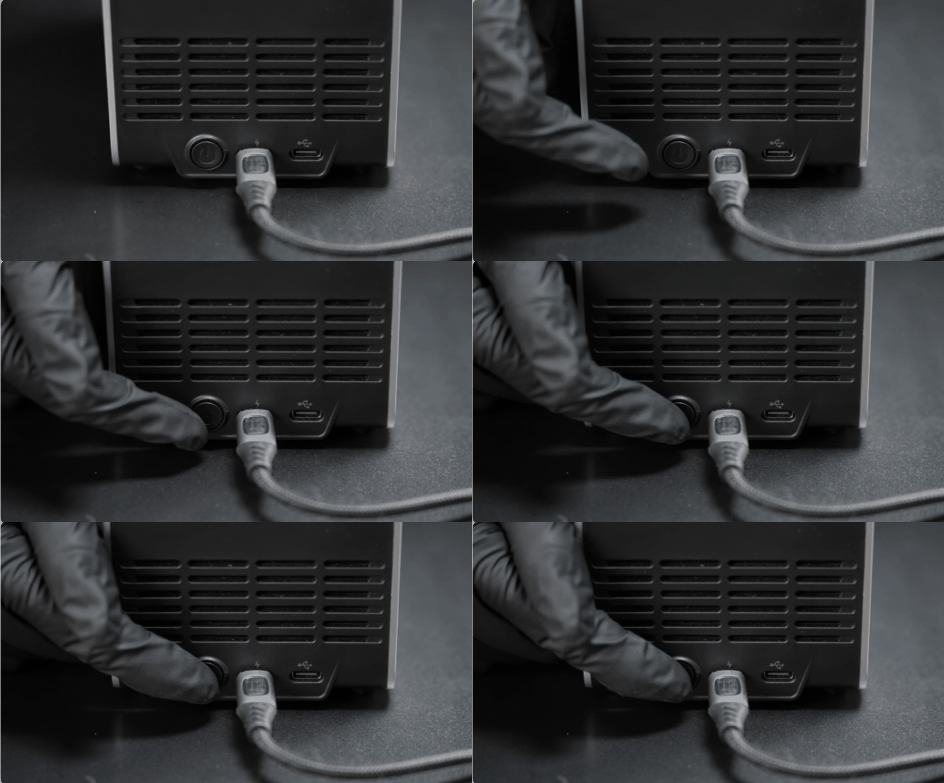
Step 4. Power On the Printer
Press the power button on the back of the printer.

The touchscreen will light up and display the SHINING 3D logo.
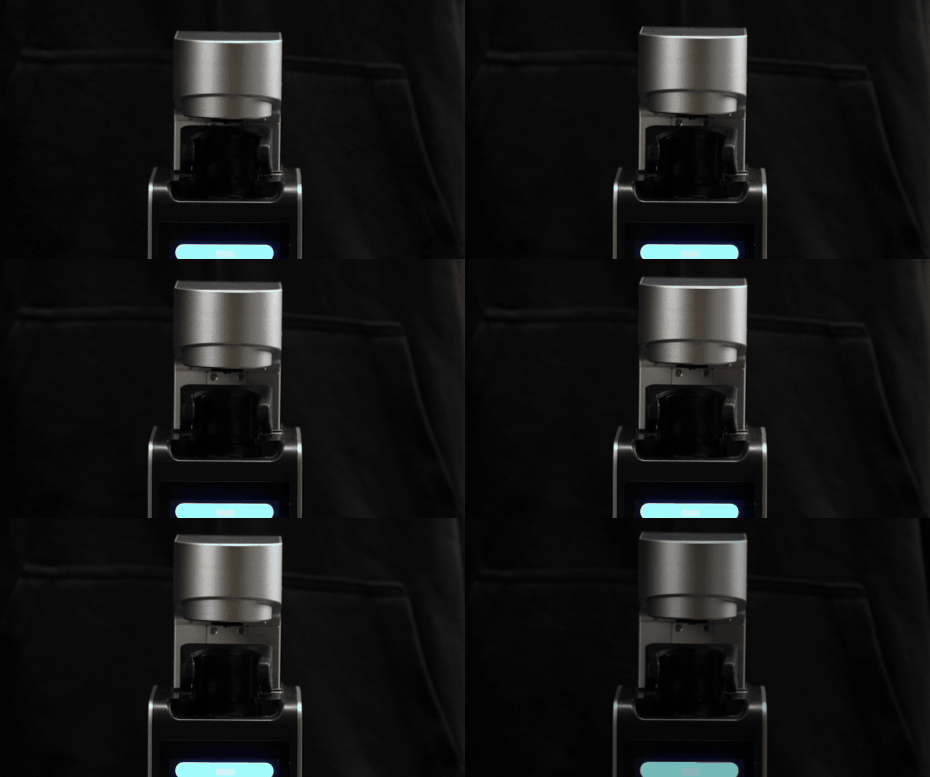
The print arm will automatically rise to the printing position.