
Cementation procedure with 3M™ RelyX™ Ultimate Adhesive Resin Cement
Required Materials and Tools
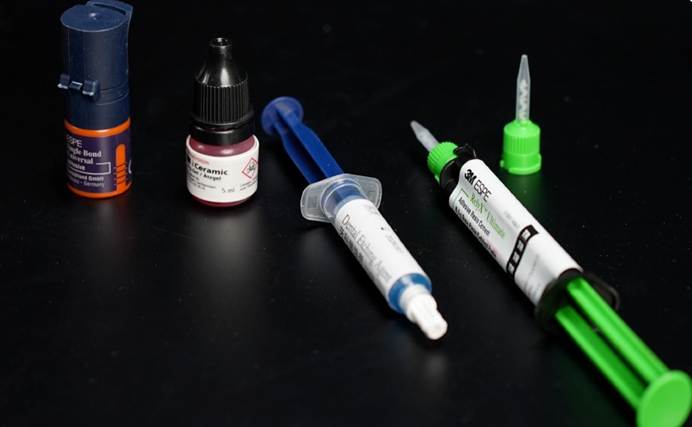
Materials
•3M™ RelyX™ Ultimate Adhesive Resin Cement
•3M™ Single Bond™ Universal Adhesive
•Phosphoric Acid Etching Gel (37%)
•Hydrofluoric Acid Etching Gel (Optional)
Tools
•Mixing Well
•Microbrush Applicator
•Light Curing Unit
•Oil-free Air Source
Surface Treatment of Restoration
After try-in, etch the internal surface of the restoration with hydrofluoric acid.
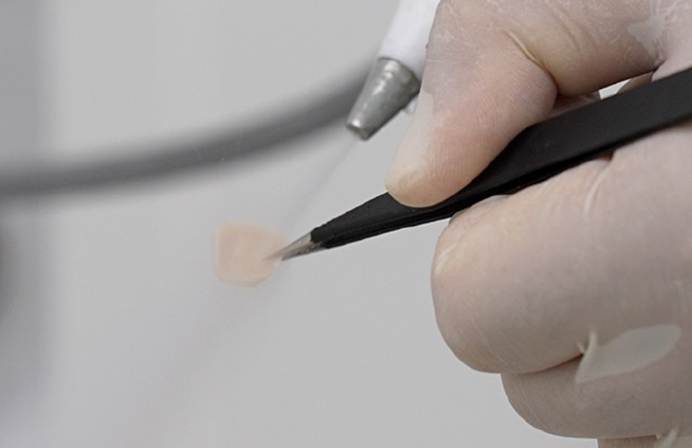
Rinse with water for 15 seconds. Dry with water-free and oil-free air.
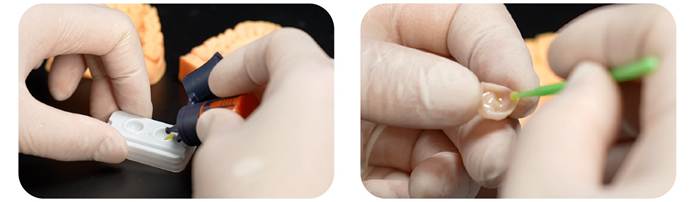
Dispense 3M™ Single Bond™ Universal Adhesive into the mixing well. Apply 3M™ Single Bond™ Universal Adhesive to the restoration surface and scrub for 20 seconds. Air dry the adhesive until it no longer moves to evaporate the solvent.
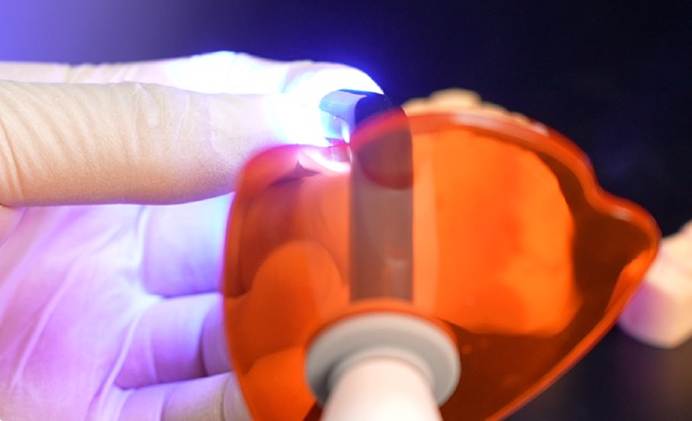
Light cure 3M™ Single Bond™ Universal Adhesive for 10 seconds.
Surface treatment of the tooth
Mechanically clean the prepared tooth surface . Rinse the prepared tooth with water and dry.
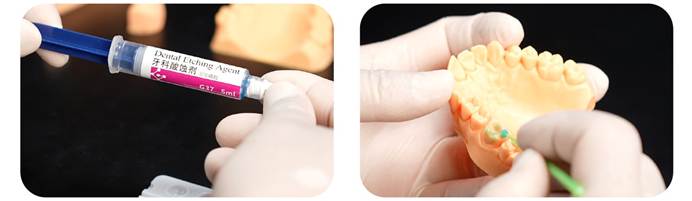
Leave the tooth surface moist. Do not overdry. Apply 37% phosphoric acid etching gel to the tooth surface. Etch dentin for 15 seconds and enamel for 30 seconds.
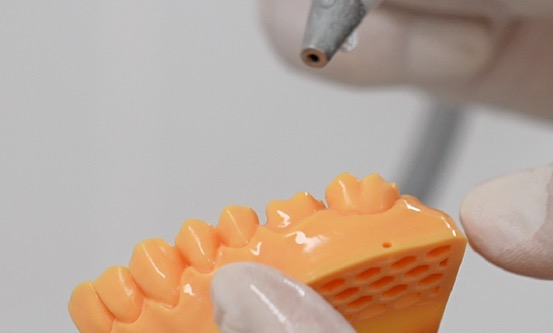
Rinse thoroughly with water and lightly air dry with oil-free air.
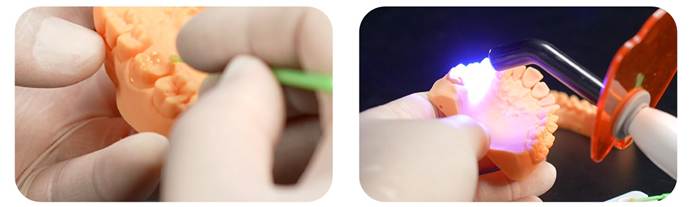
Apply 3M™ Single Bond™ Universal Adhesive to the tooth surface and scrub for 20 seconds. Air dry the adhesive until it no longer moves to evaporate the solvent. Light cure 3M™ Single Bond™ Universal Adhesive for 10 seconds.
Cementation
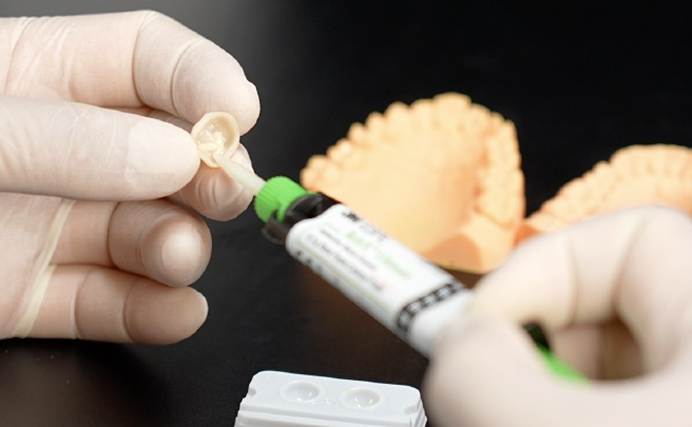
Squeeze out and discard a small amount of cement before cementation.
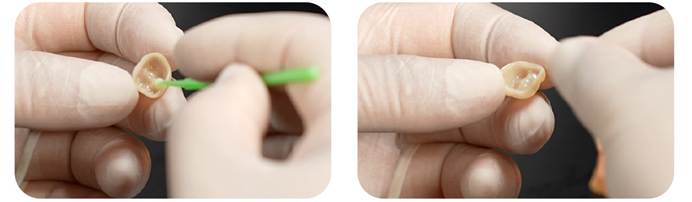
Dispense cement directly into the crown. Apply cement evenly on the bonding surface of the restoration.
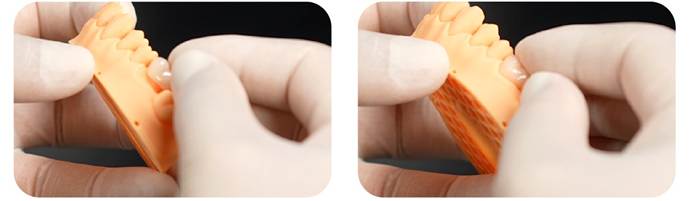
Firmly seat the crown with finger pressure.
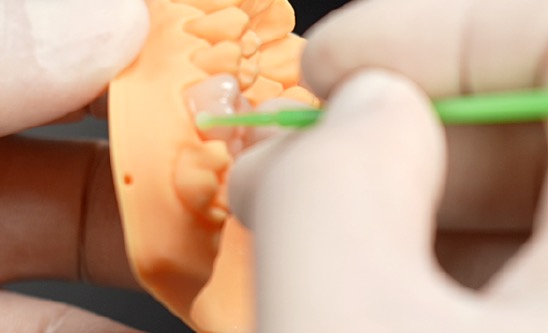
Remove excess cement while maintaining the crown position. Apply occlusal pressure for 20 seconds to ensure complete seating of the crown.
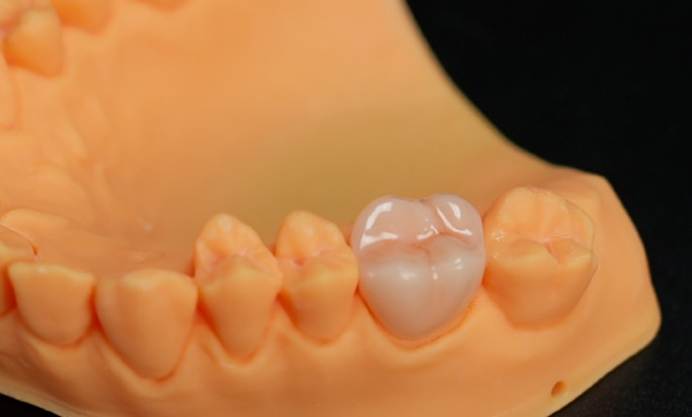
Light cure for 20 seconds per surface, or allow self-cure for 6 minutes from the start of mixing. Finish and polish as needed.